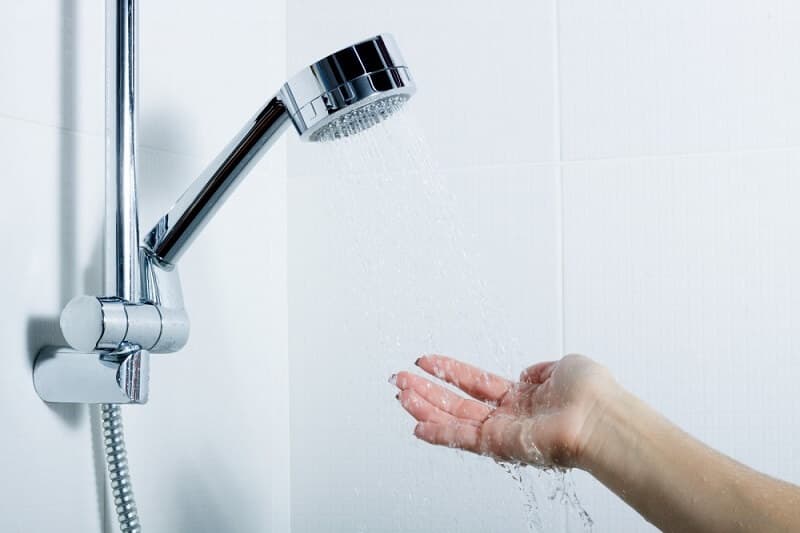
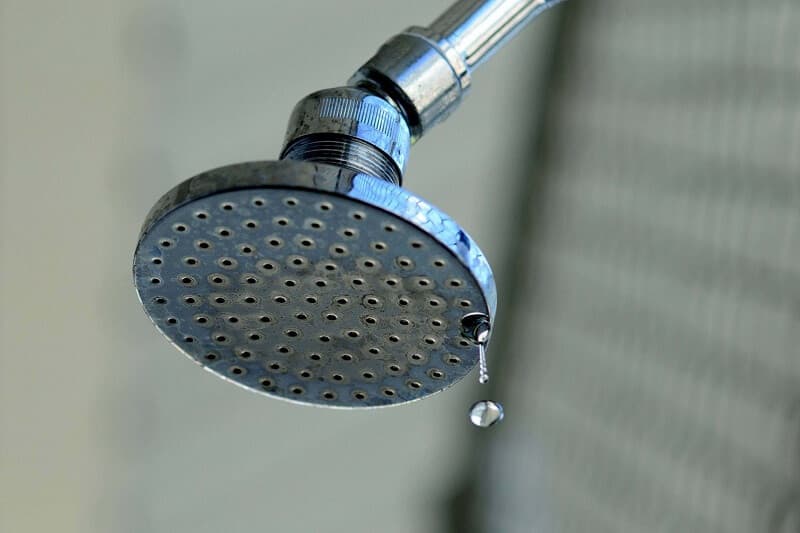
Why Is Your Shower Head Leaking?
A leaking shower head fix in Sydney is one of the most common calls we receive — and for good reason. A constantly dripping shower head is more than just an annoying sound keeping you awake at night. It's actively wasting precious water, driving up your Sydney Water bills, and can cause moisture damage, mould growth, and structural problems in your bathroom.
A shower head that drips just 10 times per minute wastes over 3,000 litres of water annually. That's money literally going down the drain.
The good news? Most shower head leaks are relatively simple to diagnose and fix, often requiring just basic tools and about 30 minutes of your time.
Common Causes of Shower Head Leaks
- Worn Washer or O-Ring: The most common culprit — rubber washers and O-rings deteriorate over time due to constant water exposure, temperature changes, and mineral deposits from Sydney's water supply
- Loose Connection: The shower head isn't properly tightened to the shower arm pipe, allowing water to seep through the threaded connection
- Mineral and Limescale Buildup: Hard water deposits accumulate around seals and connections, preventing proper sealing
- Damaged or Crossed Threads: Worn, stripped, or improperly aligned threads prevent a watertight seal
- Faulty Diverter Valve: In shower-over-bath combinations, a malfunctioning diverter can cause leaking between outlets
- Excessive Water Pressure: Overly high water pressure (above 500 kPa) puts stress on seals and connections, causing premature failure
- Cracked Shower Head Body: Physical damage or manufacturing defects that allow water to escape
- Corroded Components: Age and water quality cause metal parts to corrode, compromising seal integrity
DIY Shower Head Leak Repairs
Before calling a plumber, you can attempt these proven DIY repairs. Most shower head leaks can be resolved with basic tools and replacement parts from any Sydney hardware store like Bunnings or Mitre 10.
Tools and Materials You'll Need:
- Adjustable wrench or slip-joint pliers (250mm or 300mm)
- Soft cloth or electrical tape (to protect finishes from scratches)
- Replacement rubber washers and O-rings (take your old ones to match)
- Teflon tape (also called plumber's tape or PTFE tape)
- White vinegar for descaling
- Old toothbrush for scrubbing
- Penetrating oil like WD-40 (for stubborn connections)
Step 1: Tighten the Shower Head Connection
Often, the simplest solution is the right one. Many leaks occur because the connection has loosened over time from vibration and use.
- Wrap a soft cloth around the connector nut to protect the finish
- Using an adjustable wrench, carefully tighten clockwise until you feel resistance
- Tighten firmly but don't over-tighten — excessive force can crack plastic fittings or damage threads
- Turn on the shower, let it run for 30 seconds, then turn it off
- Wait 10 minutes and check if dripping has stopped
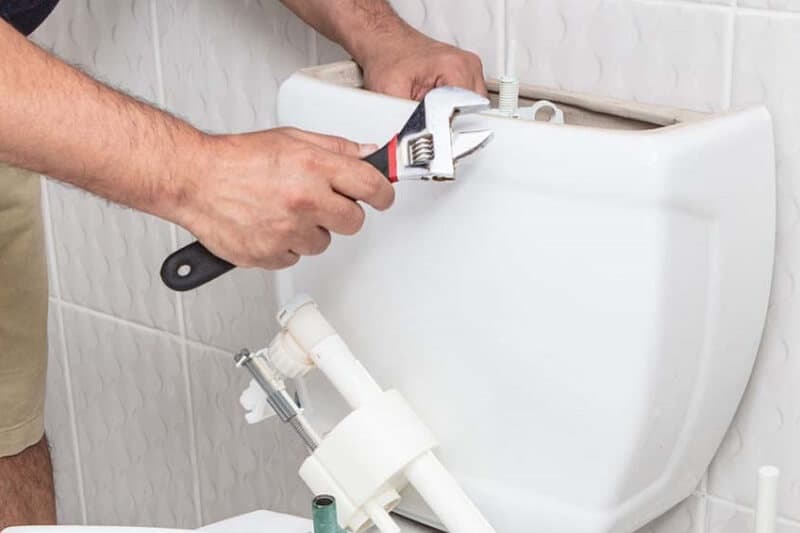
Step 2: Replace Worn Washers and O-Rings
If tightening doesn't resolve the leak, worn internal washers and O-ring seals are almost certainly the cause.
- Turn off the water supply to your shower (isolation valve or main supply)
- Place a towel over the drain to catch small parts
- Wrap the connector in cloth, then use your wrench to unscrew the shower head counterclockwise
- If stuck from corrosion, apply penetrating oil, wait 10 minutes, then try again
- Remove and inspect the rubber washer (inside the connector) and O-ring — if cracked, flattened, or brittle, they need replacing
- Clean the threads thoroughly with a toothbrush dipped in white vinegar
- Insert the new washer (ensure it sits flat) and install the new O-ring
- Wrap 3-4 layers of Teflon tape clockwise around the shower arm threads
- Hand-screw the shower head back on, then give it a final quarter turn with the wrench
- Turn the water back on and test for leaks
Step 3: Descale and Clean Mineral Deposits
Sydney's water, whilst generally high quality, contains minerals that build up over time. Deposits can prevent proper sealing even with brand new washers.
- Remove the shower head and disassemble any removable parts
- Submerge all metal parts in white vinegar for 2-4 hours (overnight for heavy scaling)
- Scrub away loosened deposits with an old toothbrush
- Use a toothpick to clear individual blocked spray holes
- Rinse thoroughly, reassemble with new Teflon tape and washers, and test
Step 4: Check Water Pressure
If leaks persist after replacing seals and cleaning, your water pressure might be too high. Australian plumbing regulations recommend pressure between 200-350 kPa, with a maximum of 500 kPa.
- Install a pressure-limiting valve on your main water line (around $200-$400 installed)
- Have a plumber test your water pressure with a gauge — this should be done annually
Dripping After the Shower Is Turned Off: Normal or Problem?
Normal Post-Shower Dripping:
If your shower head drips for 30 seconds to 5 minutes after turning off the water, this is completely normal. It's simply residual water trapped in the shower head and arm draining out due to gravity. This is especially common with larger rain shower heads.
Problematic Continuous Dripping:
If dripping continues beyond 10 minutes, or if it's a steady stream rather than occasional drips, you have a genuine leak that requires attention. This indicates failed seals, damaged components, or valve problems.
When to Replace Your Shower Head Entirely
Sometimes replacing rather than repairing makes more economic sense:
- Your shower head is over 10-15 years old and showing corrosion or mineral buildup that won't clean
- The threaded connection is stripped or cross-threaded beyond repair
- Multiple repair attempts haven't stopped the leak
- The shower head body has visible cracks or damage
- You want to upgrade to modern water-efficient models
- Your current shower head doesn't meet WELS (Water Efficiency Labelling and Standards) requirements
Benefits of Upgrading to a Modern Shower Head:
- Water Savings: WELS 3-star rated models use 9 litres per minute or less (older heads use 15-25 litres), saving hundreds annually on water and heating
- Better Performance: Modern aeration technology provides satisfying pressure whilst using less water
- Easy Maintenance: Silicone nozzles let you wipe away mineral buildup with your fingers
- Contemporary Styling: Chrome, brushed nickel, matte black, or brass finishes to suit any bathroom
- Added Features: Rain, massage, and handheld combination options for flexibility
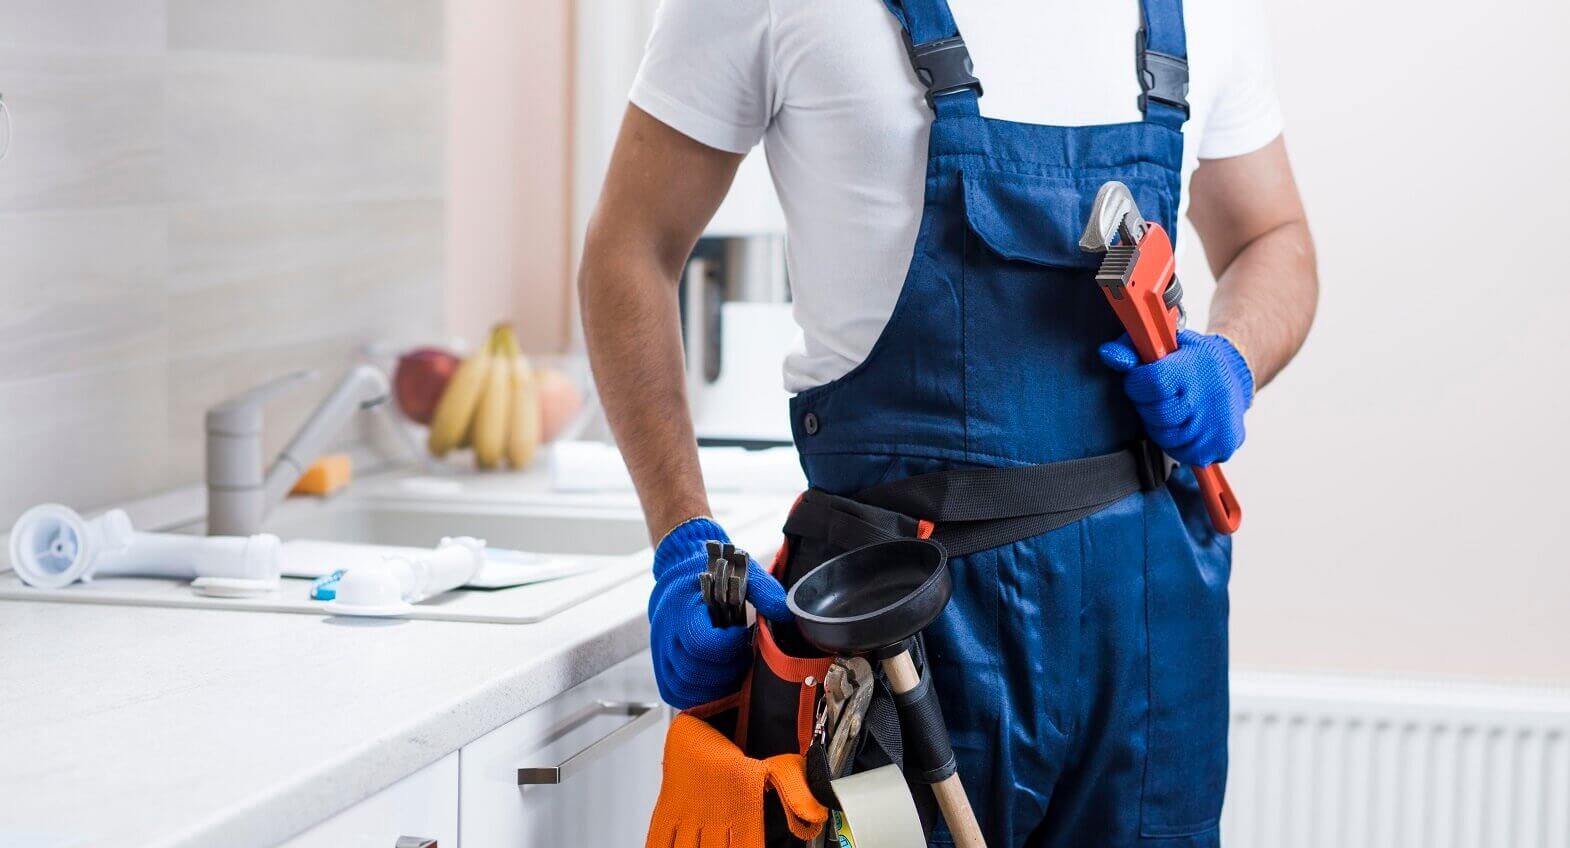
Professional Shower Leak Repairs: When to Call a Plumber
Whilst many shower head leaks are DIY-friendly, some situations require professional expertise. Contact our team if you experience:
- Persistent leaks after DIY repairs — there's likely a more complex underlying issue
- Water leaking from inside the wall — indicates damaged pipes or waterproofing problems requiring immediate attention
- Water stains on ceilings below — suggests shower recess leaks or failed waterproofing membrane
- Mould or dampness around the shower area — ongoing moisture causing health and structural risks
- Diverter valve or shower mixer tap issues — internal valve problems need specialised parts and expertise
- Corroded or damaged shower arms — replacing arms installed inside walls requires plumbing knowledge
- Thermostatic mixing valve issues — these safety devices require a licensed plumber to repair or replace
How Much Does Shower Head Repair Cost in Sydney?
Understanding typical costs helps you budget and decide between DIY and professional service:
- DIY Parts: Washers, O-rings, and Teflon tape cost $5-$20
- New Quality Shower Head: $40-$150 for standard models, $150-$400+ for premium rain showers
- Professional Repair Visit: $150-$280 including labour and standard parts
- Shower Head Installation: $150-$250 for straightforward replacement
- Shower Mixer Tap Repair: $200-$400 depending on parts required
- Wall Leak Investigation: $200-$350 for diagnosis, plus additional repair costs
Preventing Future Shower Head Leaks
Preventative maintenance saves money and extends the life of your shower fixtures:
- Descale your shower head every 3-6 months using the vinegar soak method
- Check connections annually for looseness and retighten as needed
- Replace washers and O-rings proactively every 2-3 years before they fail
- Ensure your water pressure is within recommended limits (200-500 kPa)
- Don't hang heavy items from your shower head
- When replacing parts, use quality Australian-standard components
Complete Sydney Shower Repair Services
When DIY solutions aren't enough, we offer comprehensive shower repair services throughout Sydney — from Bondi to Penrith, Manly to Miranda, and everywhere in between.
Our Shower Services Include:
- Leaking shower head diagnosis and repair
- Shower head and tap replacement (all brands and styles)
- Shower mixer tap repairs and cartridge replacement
- Leaking shower base detection and waterproofing repairs
- Wall leak investigation using thermal imaging and moisture detection
- Pressure limiting valve installation to protect fixtures
- Water-efficient fixture upgrades for reduced bills
- Complete shower and bathroom renovations
- Emergency shower leak repairs available 24/7
Why Choose Us for Shower Repairs?
- Fully licensed and insured Sydney plumbers (Licence: 369675C)
- Same-day service available throughout Sydney metro
- Upfront fixed pricing — no hidden fees or surprise charges
- 12-month workmanship warranty on all repairs
- Experienced with all shower brands (Caroma, Methven, GROHE, Hansgrohe, Mizu, Phoenix)
- Clean, professional service with drop sheets and site cleanup
Common Questions About Leaking Shower Heads
How long do shower head washers last?
Quality rubber washers and O-rings typically last 2-5 years depending on water quality, pressure, and usage frequency. Hard water and high pressure shorten their lifespan significantly.
Can I use silicone instead of Teflon tape?
No. Teflon tape is specifically designed for threaded pipe connections and allows future disassembly. Silicone sealant creates a permanent bond that makes removal difficult and isn't appropriate for shower head connections.
Why does my shower head leak only when using hot water?
Heat causes metal components to expand slightly. If seals are worn or connections are slightly loose, this thermal expansion can open gaps that allow leaking specifically with hot water. This is a clear sign that washers need replacement.
Are expensive shower heads less likely to leak?
Generally yes — premium shower heads use better quality materials, superior seals, and more precise manufacturing. However, even expensive fixtures need proper installation and regular maintenance.
Get Expert Shower Repairs in Sydney Today
Don't let a leaking shower head waste water and money. Whether you need a quick repair, complete fixture replacement, or expert advice on water-efficient upgrades, our team is ready to help with fast, reliable service across all Sydney suburbs.
Call 0404 939 121 now for professional shower leak repairs in Sydney. Same-day service available, fixed pricing, fully licensed plumbers.
Written by
Licensed plumbing specialists (Lic. 369675C) with 10+ years of experience serving Sydney homes and businesses. Available 24/7 for emergency plumbing, blocked drains, hot water, gas fitting, and more.